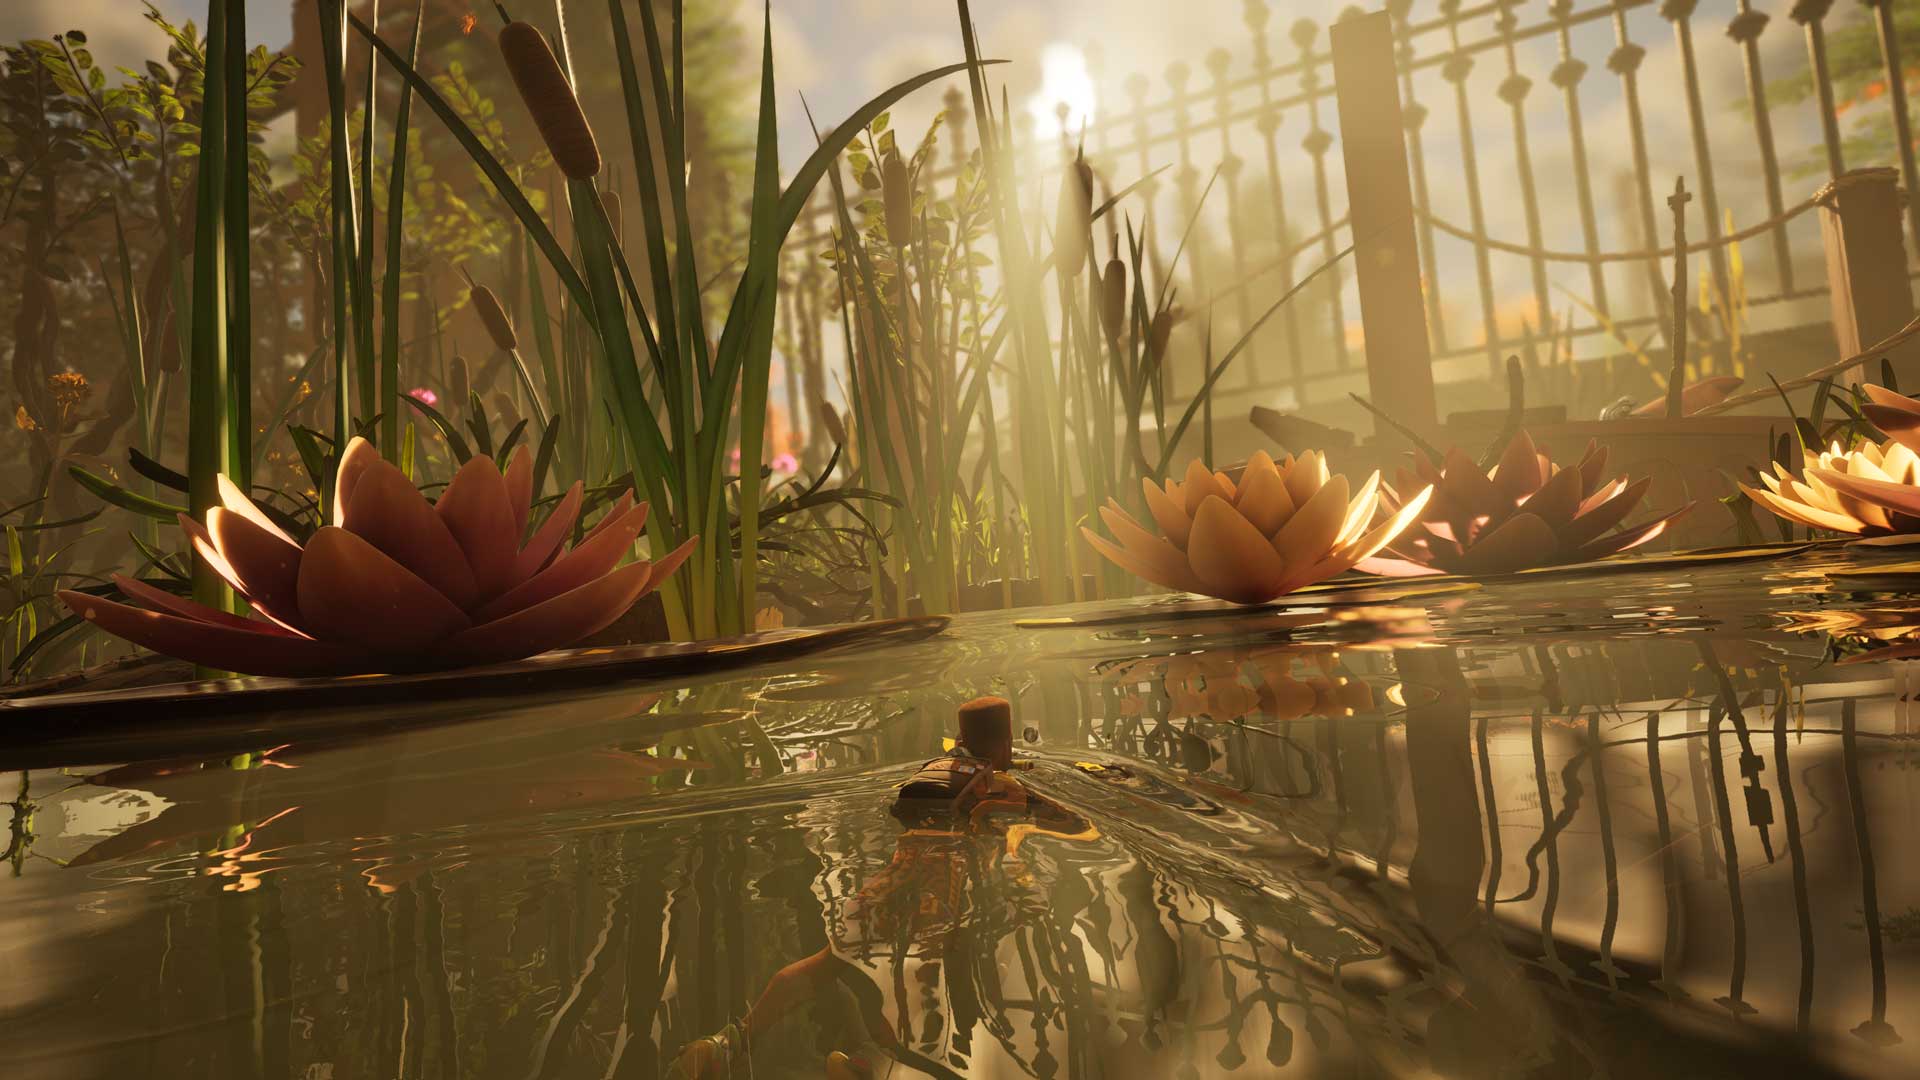
Grounded 2 Map Guide: Regions, Landmarks, and Safe Routes
How to read the backyard map, create useful route pins, and turn landmarks into repeatable resource runs.
Use landmark-first routes: mark the region, nearest safe return, required tool, local danger and the next progression gate. The Pond, Mountains and Bayou belong to the current Into the Abyss map scope.
3 sources · route guidance · Region access and routes must be rechecked after map updates.- A map pin habit
- Storage near a return route
- The tool required by the target landmark
Known locations entries
Use this as a fast lookup first. Open the linked guide for the route, prerequisites and current-build notes.
Landmarks make routes memorable
A good location entry names the landmark, approach, danger, required tool, and return path so a player can act on it without decoding a wall of text.
Artwork: Obsidian Entertainment / Grounded 2 official news media.| Name | Type | Region | Useful answer | Status | Open |
|---|---|---|---|---|---|
| World | Main map | The full survival-crafting map and the parent route for every location hub.Source: Grounded 2 official / Steam | Verified | Open guide | |
| Region | Into the Abyss | The official 0.5 expansion area with above- and below-water exploration.Source: Obsidian Into the Abyss | Verified | Open guide | |
| Region | Into the Abyss | A named 0.5 region; confirm the access order and safe route in the current build.Source: Obsidian Into the Abyss | Verified | Open guide | |
| Region | Into the Abyss | A named 0.5 region; route details remain version-sensitive.Source: Obsidian Into the Abyss | Verified | Open guide | |
| Landmark region | Brookhollow Park | A useful base-location landmark to compare for space, danger and future travel.Source: PC Gamer base guide | Reference lead | Open guide | |
| Landmark | Brookhollow Park | A major route landmark connected to the briefcase and Milk Molar searches.Source: PC Gamer location guides | Reference lead | Open guide |
Status is deliberately conservative: a reference lead is useful for discovery, but exact stats, drops, costs and coordinates are not upgraded to verified without a current-build check.
Use landmarks, not coordinates alone
Grounded 2 locations are easier to remember by the object that dominates the scene: a log, sign, root, machine, or raised garden feature. A good map note names the landmark, the nearby danger, and what the location is useful for.
When an update changes terrain, landmark-based descriptions remain easier to correct than a paragraph full of fragile compass directions.
Create three map layers
Keep separate pins for resources, danger, and progression. Resource pins answer where to farm; danger pins answer what to prepare for; progression pins answer what a new player can safely ignore for now.
For co-op, add a fourth layer for meeting points. A visible regroup location saves more time than four players calling out different grass blades in voice chat.
How our map pages will be maintained
Each location page will include the region, nearest landmark, access requirement, nearby resources, known creatures, and a version note. When the Early Access map changes, the affected location pages will be updated together rather than silently leaving old directions online.
Use this guide in a run
- 01Name the landmark
Start with the log, sign, root, machine, or raised garden feature a reader can see.
- 02Mark the pressure
Add the local creature, hazard, tool requirement, and safest approach.
- 03Plan the return
A location is useful only when the route home and storage plan are clear.
- 04Date the discovery
Keep the build and map context visible so Early Access changes are easy to audit.
Before you commit to this route
- Save the landmark and the nearest safe return point
- Mark required tools and local creature pressure
- Separate resources, danger, and progression pins
- Date the route so later patches are easy to compare